Beans 101: Your Guide to a Bean-Powered Life
Welcome to Beans 101, your guide to a bean-powered life.
If you’re new to eating beans, you’re in the right place. If you already love beans and are looking for new ideas or ways to eat beans, you’re also in the right place.
Beans, put simply, are magical. Not only are they among the most sustainable protein sources on Earth, but they also keep us healthy and vital. Eating beans is one of the most empowering choices that we, as consumers, can make for the long-term health of our bodies and the sustainability of our planet.
And lucky for us, beans are incredibly versatile, delicious, and can be added into almost any dish with ease (or shine by themselves!). Truly, once you experience the array of unique flavors and textures on the bean spectrum, you will see a whole new, delicious world being unlocked.
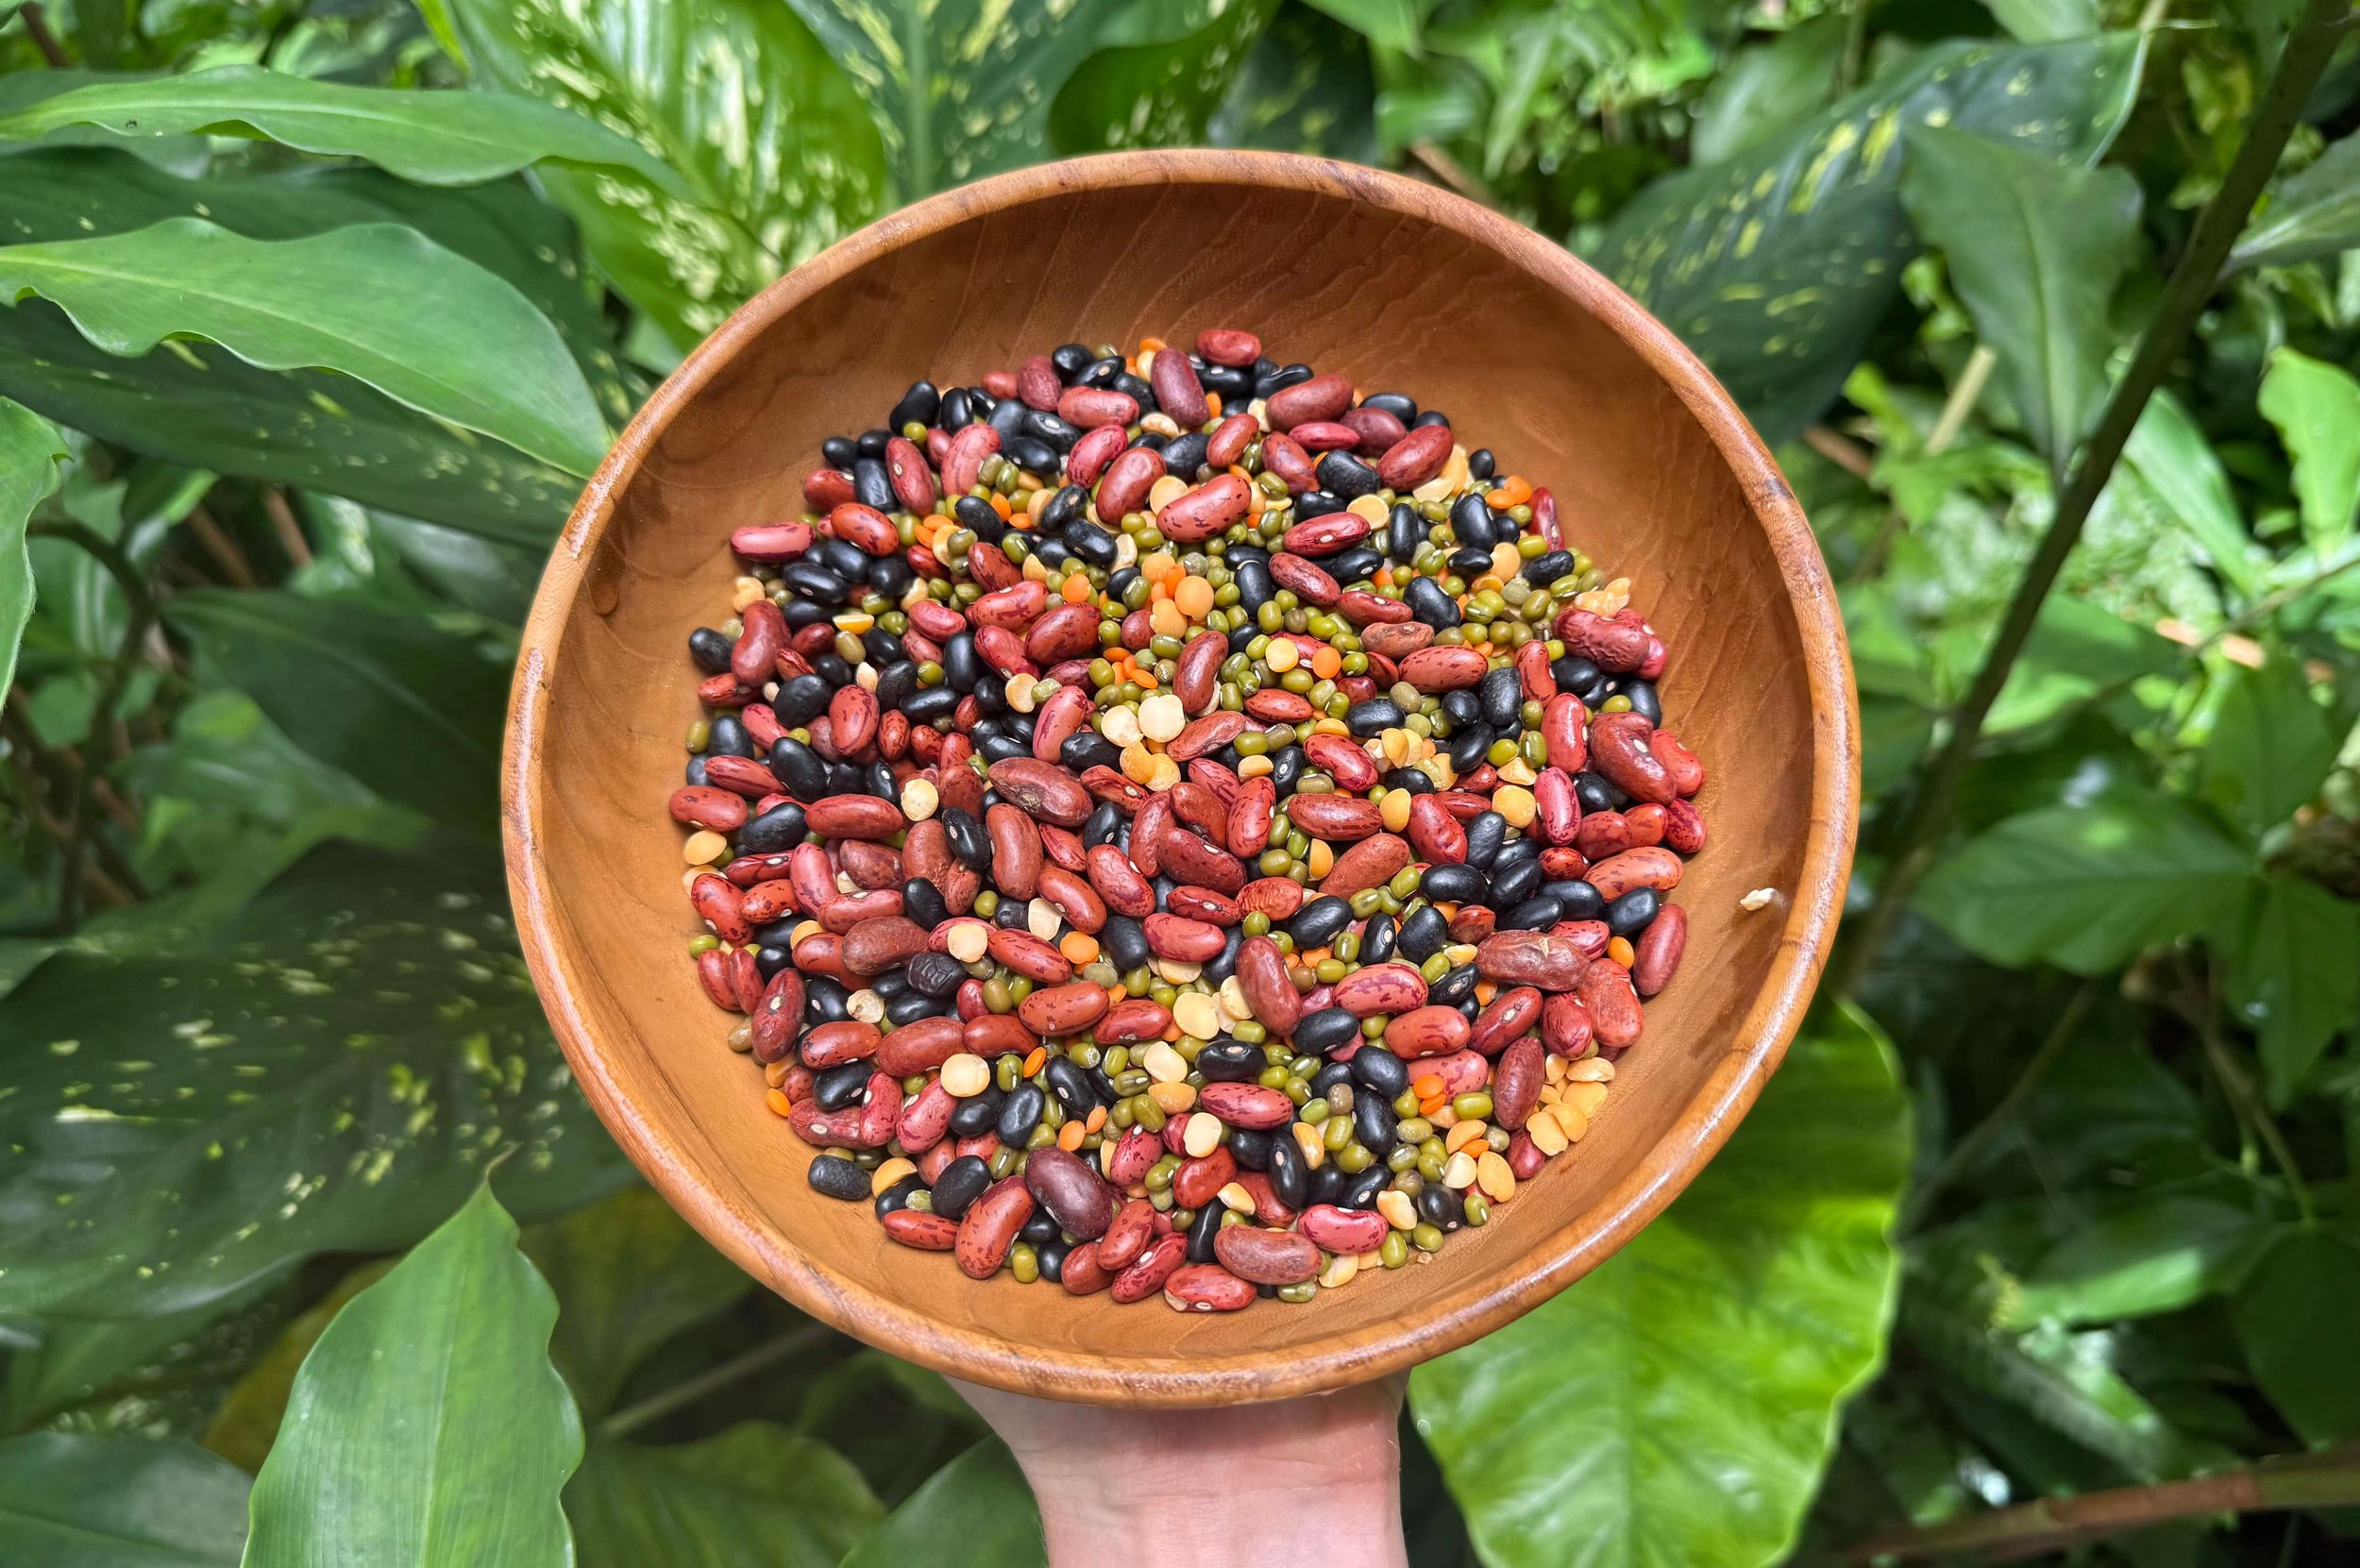
Starting a Bean-Powered Life
Everyone knows the classic tune, “Beans, beans, the magical fruit, the more you eat the more you…” Well, you know the rest.
While whoever wrote this jingle definitely was correct that beans are indeed magical, how it should have ended is “Beans, beans, the magical fruit, the more you eat, the less you toot…because the more beans you eat, the more prebiotic fiber you’re feeding your gut, and the more you’re building up the beneficial gut bacteria that knows how to properly digest beans and keeps your whole system healthy and strong”. But that version might not have quite as nice of a ring to it.
If you’re starting from zero and suddenly begin eating large quantities of beans every day, you will likely experience some digestive issues as your body hasn’t yet built up the beneficial gut microbes to digest them. As this process takes time, the best way to introduce beans into your diet is slowly, gradually, and with consistency. As you begin to incorporate more beans into your diet, you feed the beneficial gut bacteria that break beans down. This same beneficial gut bacteria you’re building up by eating beans is also what improves immune support, balances hormones, and regulates mood. Rinsing your beans also removes a good amount of the gas-causing compounds.
The simplest starting point with beans is this: add 1/2 can of rinsed beans to any dish you already enjoy eating, four times a week. This could be on top of salads, into a bowl or tacos, or into a soup you’re already making, for example. If you’re at a restaurant, you can ask for beans to be added on top of your salad, or as simple side. Keep it simple and consistent, and this will give your digestive system time to adjust. Follow this for the first two weeks, and by week three, increase to six days a week. By week four, your gut microbiome will have built up enough to digest beans with ease every day.
The World of Canned Beans
Canned beans are a lovely starting point into the world of beans. While I love the flavor and texture of freshly cooked stovetop beans (see my go-to method here), for the sake of ease and convenience, canned beans are a great option. They can be quickly added into any staple meals you already enjoy eating. When I was first starting to add more beans into my diet, my go-to hack was to swap beans for meat in my staple dishes. Ground beef tacos became black bean tacos, chicken and vegetable soup became cannellini bean and vegetable soup. It’s an easy swap, and the beans left me equally, if not more satisfied.
My favorite brand for canned beans is Eden Foods. Their beans are organic, cooked with kombu seaweed (very helpful for digestion and adds a nice saltiness), and their cans are BPA-free. You can find this brand at most grocery stores.
For more “fun” canned options, Heyday Canning Co has some really unique flavors of pre-seasoned beans like coconut curry chickpeas, kimchi sesame navy beans, and enchilada black beans.
Canned beans are also a great starting point for dips. Dips are still one of my favorite ways to enjoy beans, and they’re a great staple to have on hand in the fridge to be enjoyed throughout the week. Since canned beans are mostly flavor-neutral, they take on any flavors you blend them with quite well. I’ve found white beans (specifically navy, cannellini, and great northern) to be the best beans for dips. They’re delicate beans with thin skins, so they blend into an incredibly smooth dip. Some of my favorite dips are garlic navy bean dip, beetroot navy bean dip, harissa butternut cannellini dip, and spicy black bean dip. Canned beans can be transformed into dips in less than 5 minutes, and they’re great for spreading on toast or a sandwich, enjoyed with veggies and crackers, or dolloped onto a salad or grain bowl.
Beans in the Blender
The blender is going to be your best friend for adding more beans to your life with ease. Beyond dips, beans can be blended into pasta sauces, salad dressings, soups, and even smoothie bowls to make them significantly creamier, thicker, and more satisfying. My favorite hack is to take any store-bought pasta sauce or salad dressing, any can of beans, and blend them up. The result is always far more satisfying than the bean-free version!
Canned beans and the blender are also great for bean desserts. Black Bean Chocolate Mousse and Navy Bean Cookie Dough are two of my favorites. They both come together in less than 5 minutes, and you would never know there are beans in there!
Cooking Dry Beans: Stovetop Method, Instapot Method, & Slow Cook Method
Cooking dry beans is both a simple and deliciously rewarding experience. First, from a price perspective, they are significantly less expensive than their canned alternatives. From a flavor perspective, cooking beans from scratch gives you much more control over the texture and flavor. The canning process makes most bean varieties quite mushy (to the exception of firmer beans like chickpeas and butter beans), but when you cook these same beans from dry, they become perfectly tender and creamy.
For convenience, for dishes where beans are getting blended, and for dishes where the bean flavor is less important (e.g. desserts), then canned beans are great. But for the most flavor-packed, perfectly textured bean experience—one where the beans can shine on their own and be the star of the show—cooking dry beans is the answer. Fortunately, dry beans are surprisingly easy to make and delicious to have on hand for the week to eat by themselves or mix and match in dishes.
My favorite dry beans come from Rancho Gordo. Rancho Gordo’s heirloom beans are fabulous and come in so many varieties with unique sizes, flavors, colors, and textures, The beans primarily come from USA, with a few varieties coming from Mexico in partnership with small family farms to preserve genetic diversity.
Simpli is another great brand for quality beans. Both Simpli and Rancho Gordo are sold at Whole Foods and many health food stores.
Stovetop Method
This is my preferred method for cooking dry beans. After an overnight soak of 8-12 hours and with high-quality dry beans, most varieties (with the exception of firmer varieties like chickpeas and large lima beans) will be ready in around an hour. Cooking beans on the stovetop, I’ve found, gives more control over the texture and flavor than with the Instapot. This method also creates a lovely bean broth!
Instapot Method
I’ve cooked quite a few batches of dry beans in the Instapot, and the process definitely involves a bit of trial and error. The cooking time changes significantly based on the type of bean and whether or not it has been soaked. Given that you can’t open the lid to check the beans while they’re cooking, it also makes getting the perfect texture a little more challenging as compared to the stovetop method. But for the Instapot lovers, here’s a helpful guide, courtesy of Rancho Gordo, with recommended cooking times. Instapot is not my preferred method, but it can be useful if you’re tight on time and still want a lovely heirloom bean experience instead of a canned bean.
Slow Cooker Method
The slow cooker is the most “hands-off” method for cooking dry beans, with the result both consistent and flavorful. The gentle heat helps ensure even consistency, and you can pretty much set it and forget it. Just add soaked beans, water to cover by 2 inches, chopped onion, a few cloves of peeled garlic, a bay leaf, and around 1 tbsp salt. Cook on low for 6-8 hours or high for 3-4 hours. The beans hold their shape beautifully and absorb flavor well.
Should I soak my beans? And for how long?
While it’s not mandatory to soak your beans before cooking, I would highly recommend it. Even with heirloom varieties like Rancho Gordo who say soaking isn’t necessary, I’ve found that soaked beans always yield better textures, flavors, and cook much more evenly. Soaking also significantly cuts down cooking time, is easier on digestion (soaking breaks down oligosaccharides—the compound that can cause gas and bloating), and improves flavor absorption as it pre-hydrates the beans.
An overnight soak of 8-12 hours is ideal. Simply cover the beans with at least 3 inches of water (they’ll absorb quite a bit of water) and let them sit. If you’re short on time, a soak of 4-6 hours will still help. For the quickest same-day soaking method, bring beans to a boil for 3 minutes, turn off the heat, cover, and let them sit for 1 hour. Drain and rinse before adding fresh water to cook.
My Biggest Advice for a Bean-Powered Life
The world of beans is vibrant, exciting, and endlessly versatile. Beans can be added into almost any recipe or staple dish you already enjoy, or shine on their own when cooked on the stovetop, Instapot, or slow cooker. To start incorporating more beans, it might help to think of them as a delicious addition. You don’t need to completely uproot your eating patterns—beans can be a fiber-packed, protein-packed, delicious boost to any dish.
And truly, once you start eating more beans and experience just how satisfying, nourishing, and delicious bean-powered meals are, you’ll wonder how you ever went so long without eating them. Beans are indeed the magical fruit!