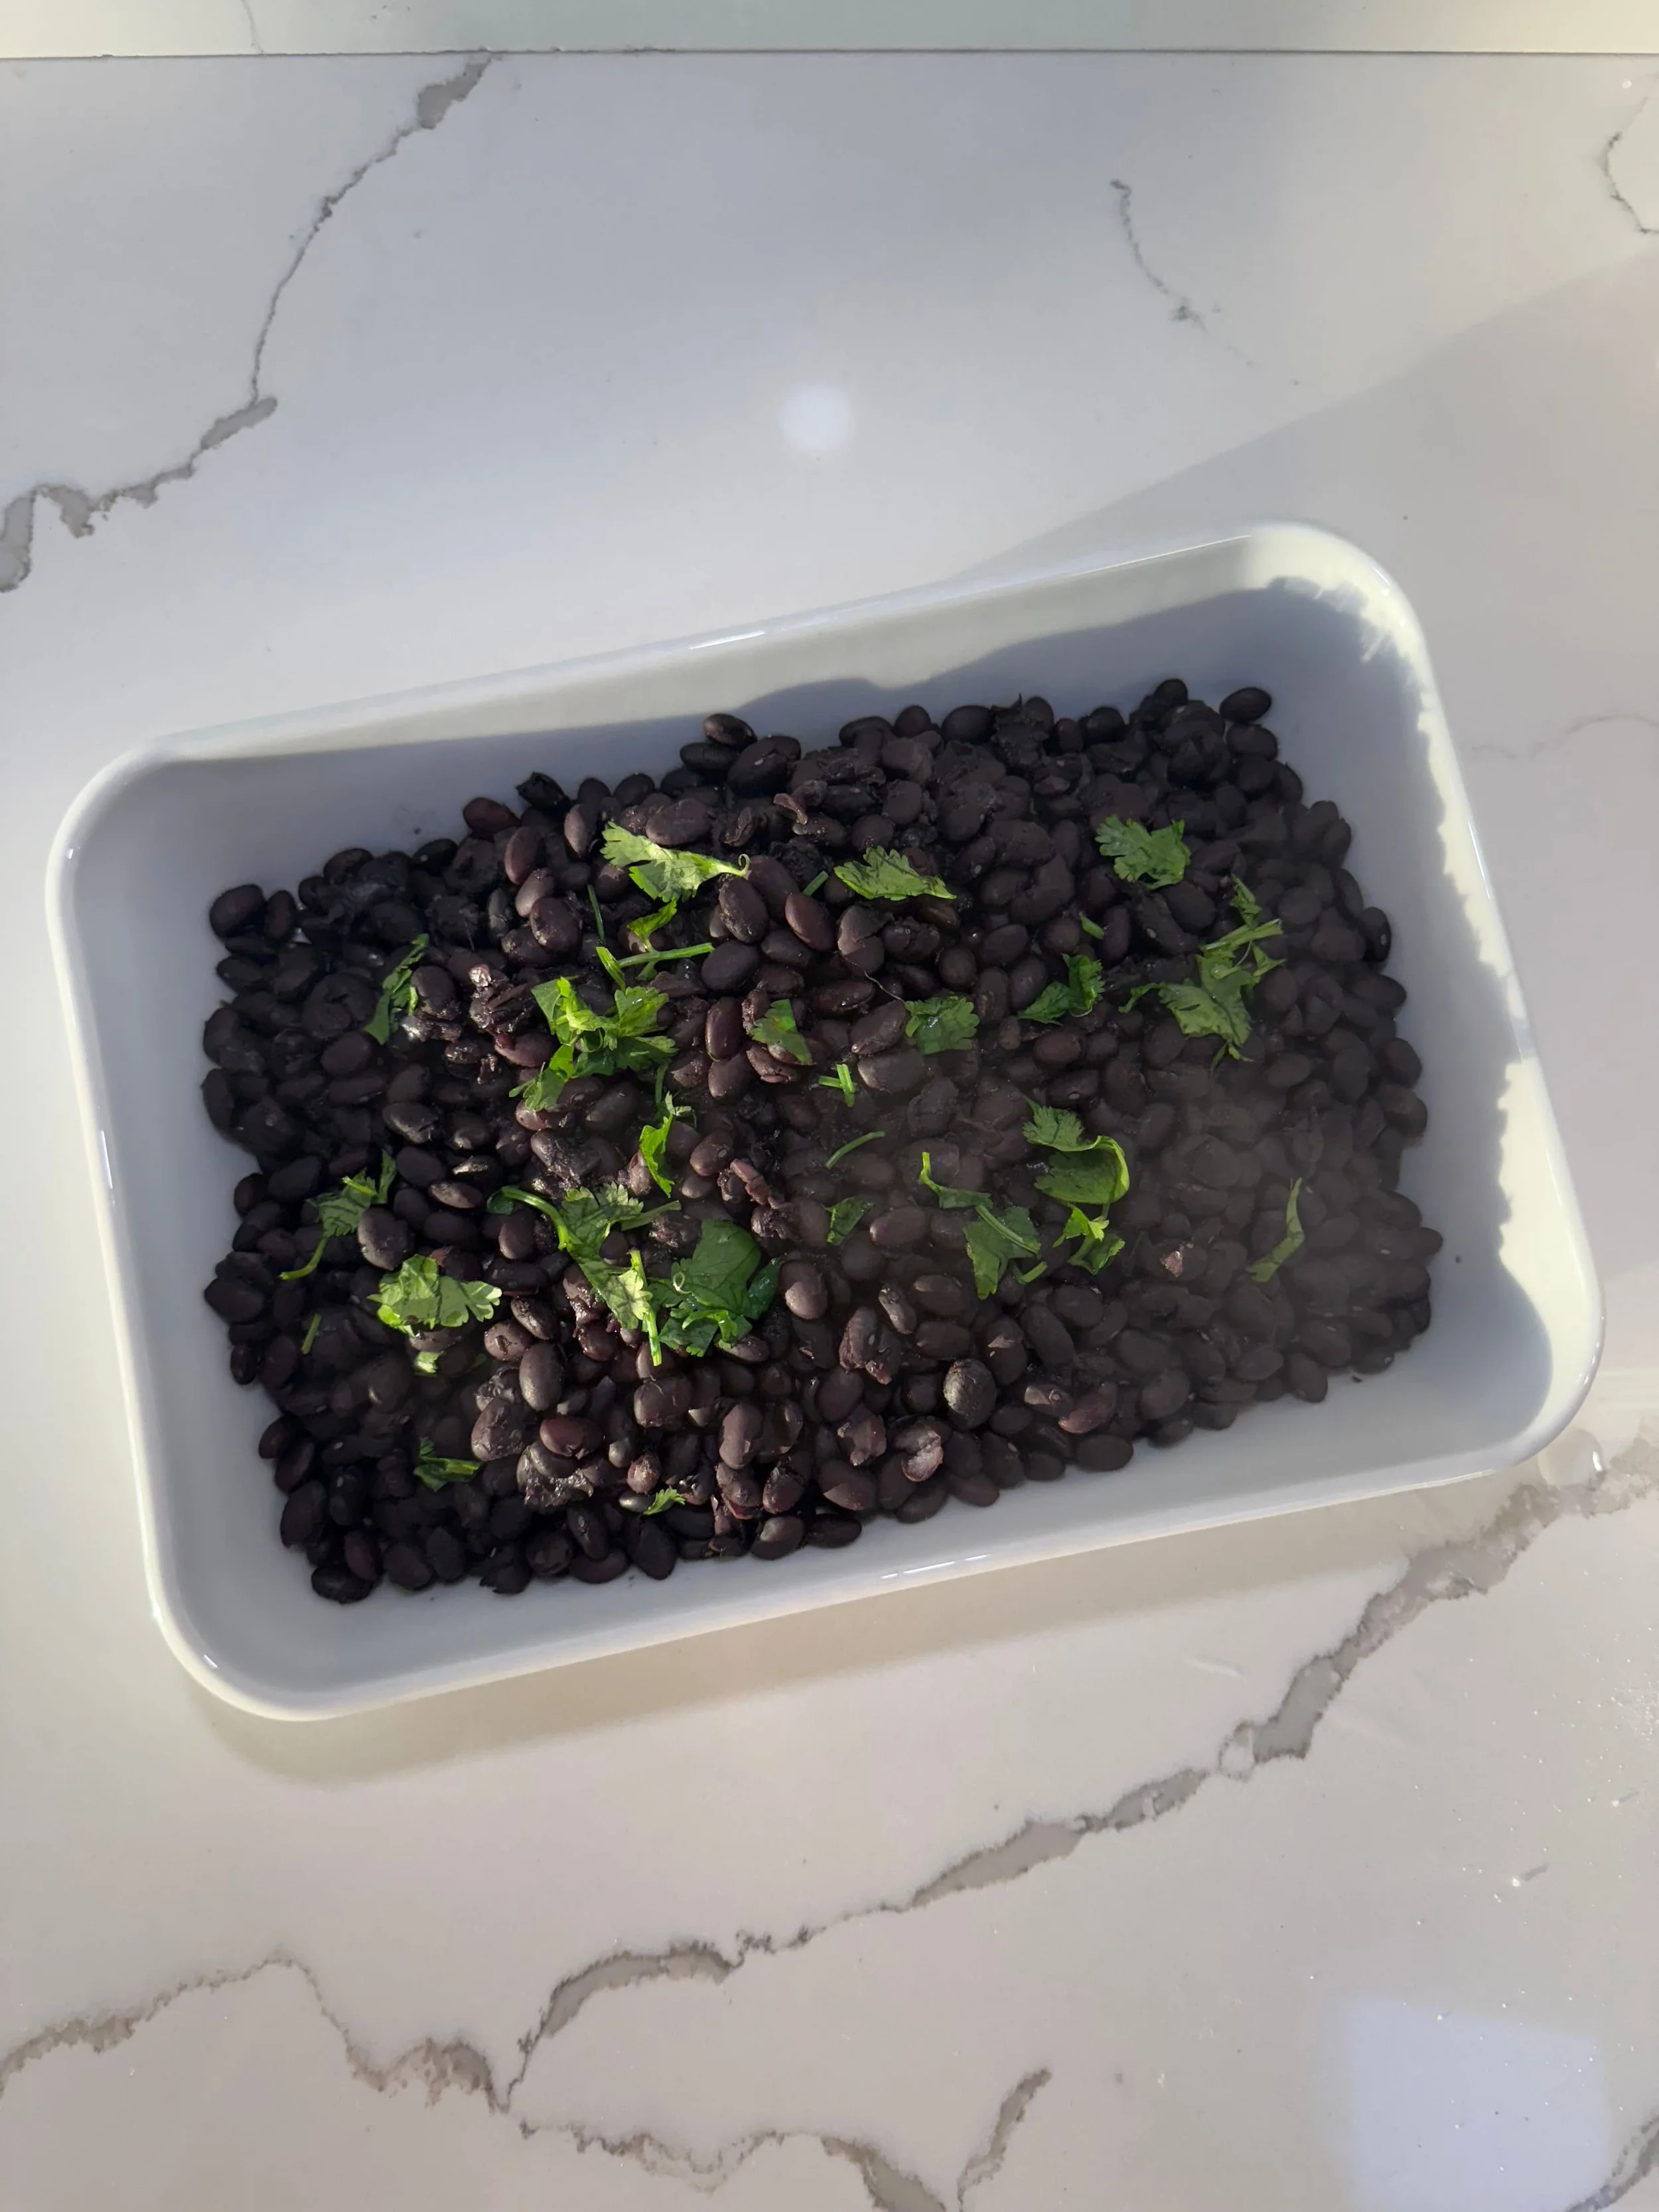
How to Cook Dry Beans: Stovetop Method
Stovetop beans are packed with flavor, perfectly textured, and endlessly versatile, and incredibly easy to make. This simple method is the perfect go-to foundational recipe.
Among life’s greatest joys is cooking and sharing a fresh pot of beans. These are next-level beans and absolutely to die for. The texture and flavor are impeccable, they’re surprisingly easy to make, and your friends and family are guaranteed to love them.
For a long time, I didn’t understand the hype around cooking beans from dry. I was a little intimidated by them, and knowing that canned beans could be cracked open in two seconds, I wasn’t sure why I would take the extra time. But once I dove into the world of heirloom beans (thank you, Rancho Gordo) and tasted my first bite of freshly cooked stovetop beans…I understood.
It was in this moment that I went from liking beans, to loving beans.
The texture and flavor of freshly cooked beans challenged everything I thought I knew about what beans could taste like. Once you try these beans, you’re gonna be hooked.
They’re perfect to have on hand throughout the week to mix-and-match in dishes — added on top of salads, mixed into bowls or soups, blended into dips, or eaten on their own! It’s an easy and incredibly rewarding weekly ritual.
Once you start cooking beans this way, there’s no going back.
Easy Stovetop Beans
Ingredients
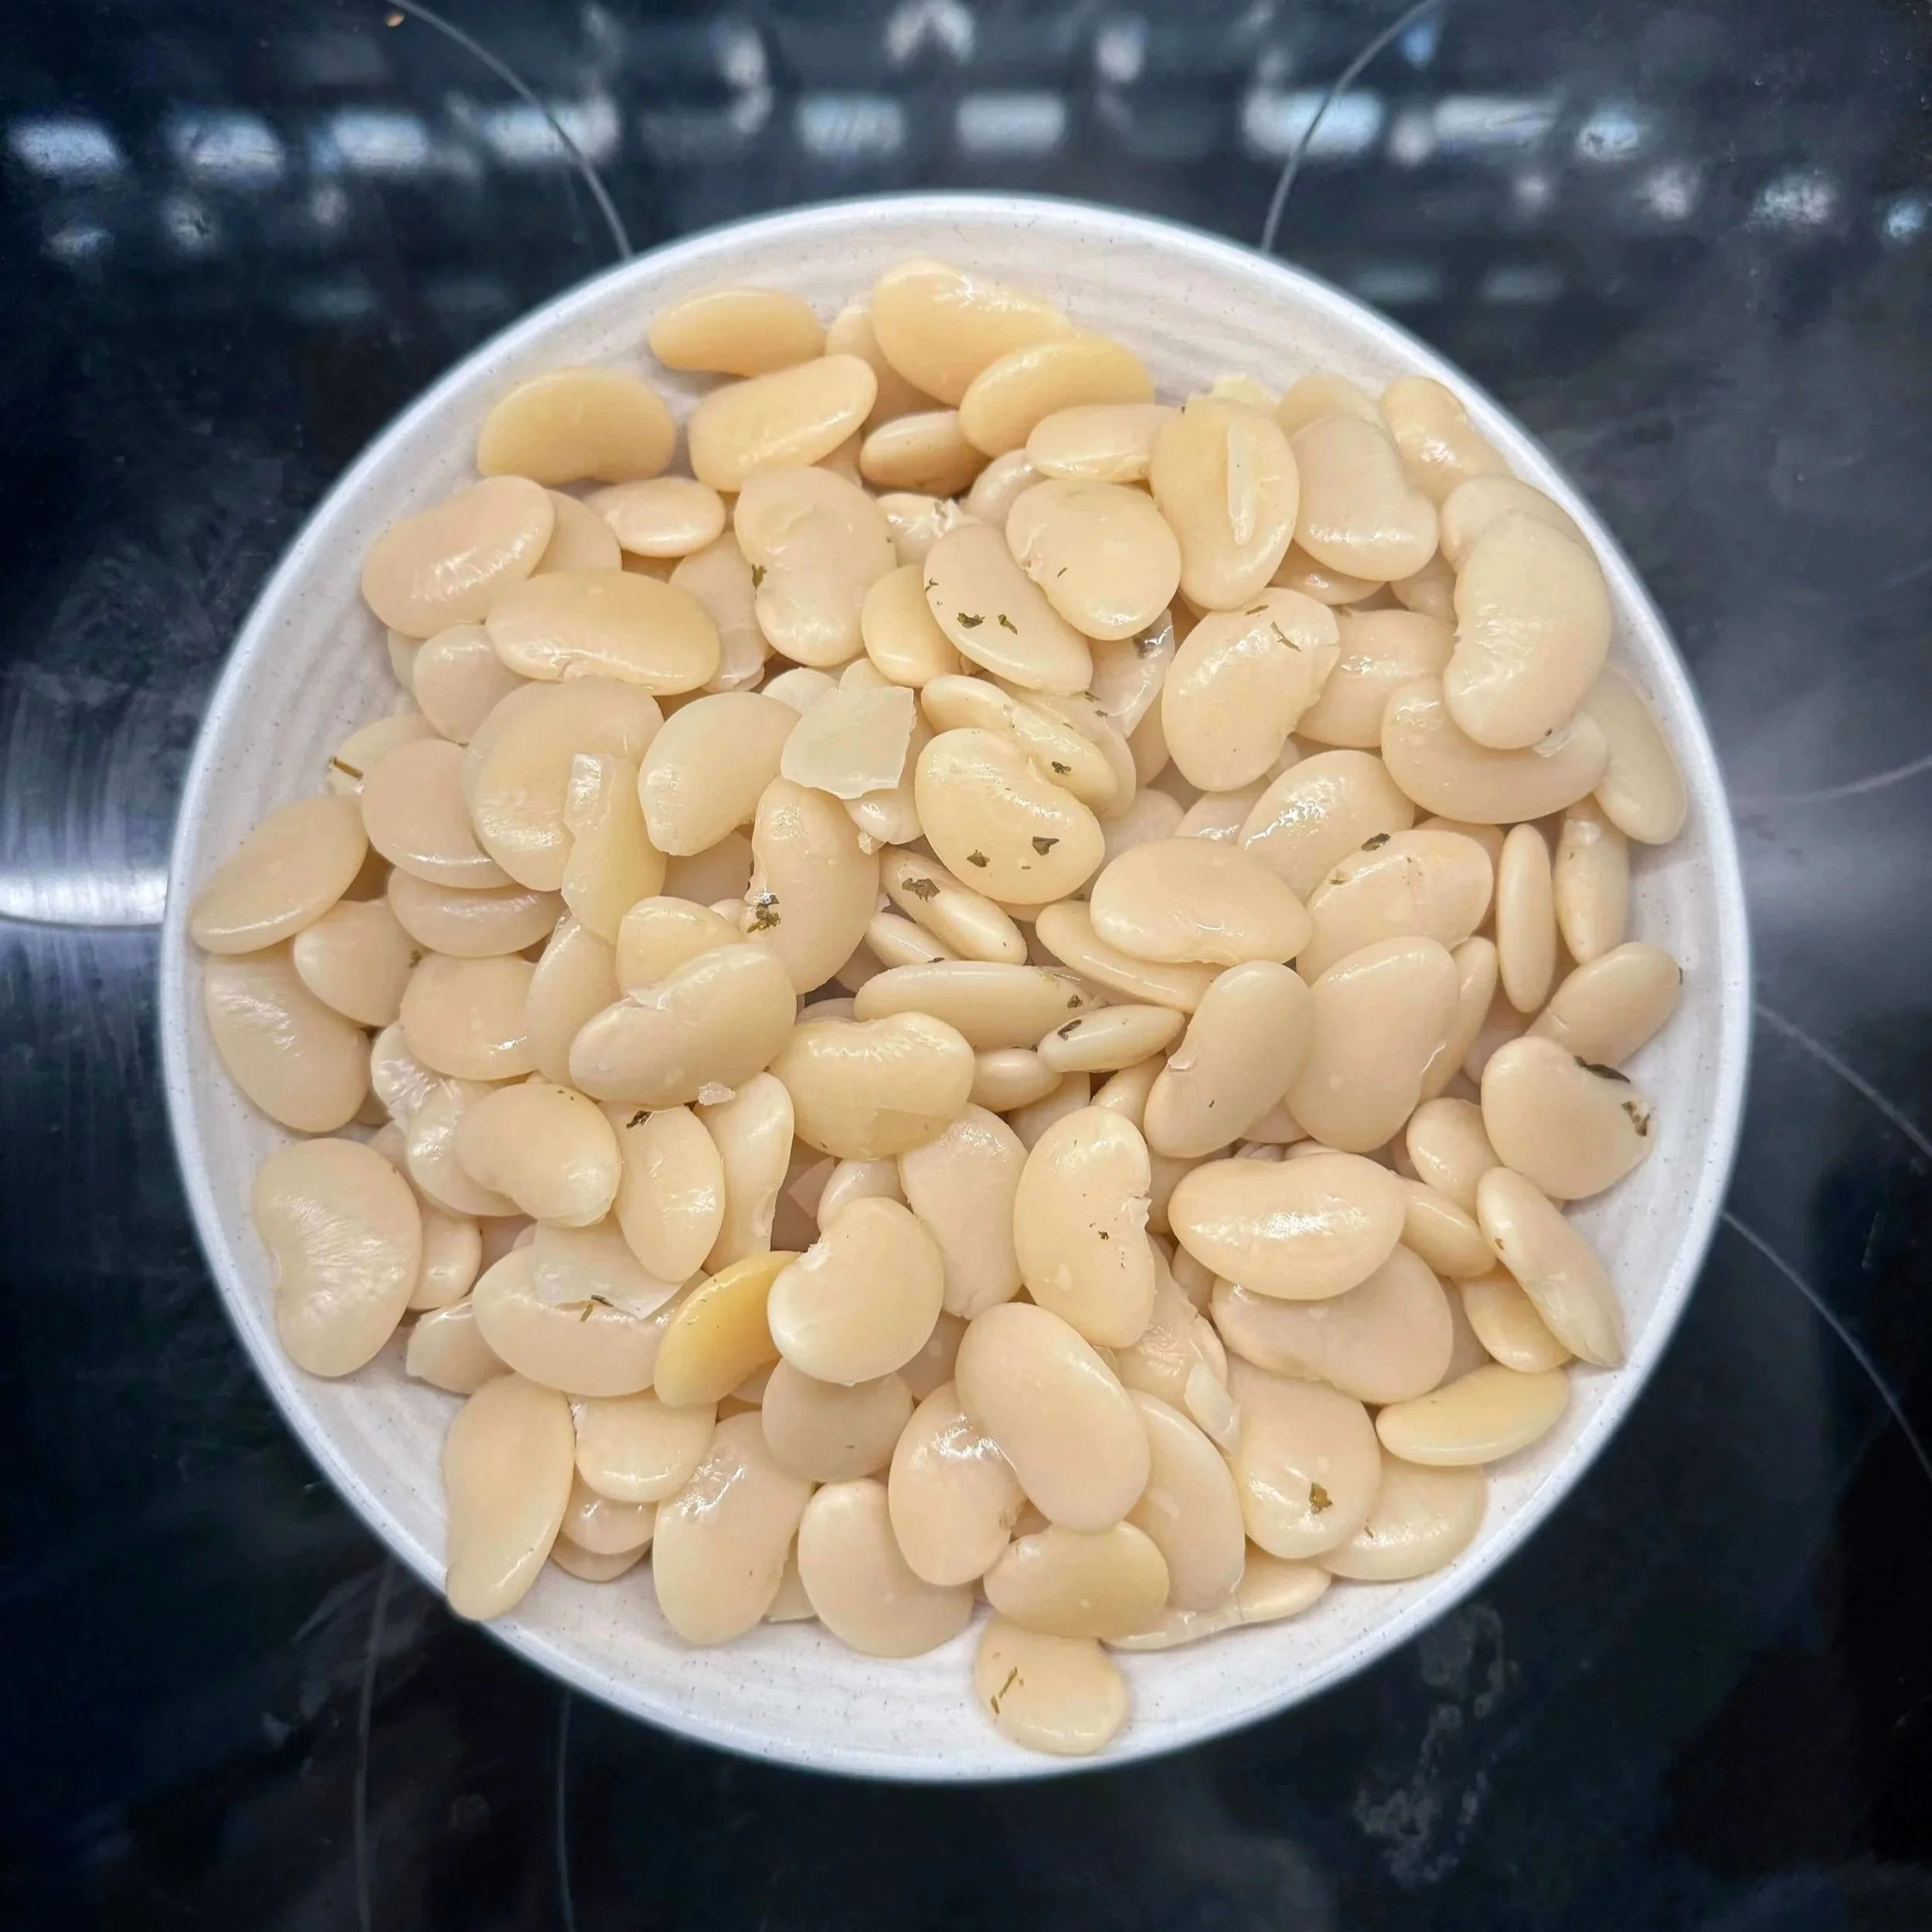
- 1 lb dry beans (black beans, navy beans, pinto beans, etc.)
- 1 yellow onion, peeled & quartered
- 3 cloves garlic, peeled
- 1 bay leaf
- 1 inch kombu seaweed
- 1 tbsp sea salt
Instructions
- Soak 1 lb dry beans overnight (approximately 8–12 hours) in cold water to cover by at least 3 inches. Soaking ensures your beans cook evenly (and this step also reduces the gas-causing compounds). If you're short on time, boil your beans for 3 minutes and let them rest for one hour as a “quick-soak” method.
- After soaking, drain and rinse your beans.
- Add beans to a pot with fresh water to cover by two inches.
- Add onion, garlic, bay leaf, kombu, and salt.
- Bring to a boil, and hard-boil for 10 minutes. Skim off foam that arises to the surface.
- Reduce to simmer, and set timer for 30 minutes. (This is a good starting point, though firmer varieties will take longer—see notes.)
- Test beans for doneness. You want them to be tender, but not mushy. They should mash between your fingers.
- When done, store your beans in their cooking liquid to keep moisture. They will last in the fridge for up to five days.
Notes:
- Ensure beans are covered with at least 2 inches of water at all times. Add water as needed.
- Cooking time will vary depending on the bean. Smaller, delicate varieties (navy beans, black-eyed peas, etc.) will take less time to cook than firmer and larger varieties.
- I’ve found 30 minutes of simmering after a 10-minute hard boil (40 minutes total) to be a good time to start checking most varieties of beans (especially those less than one year old). If you’re cooking firm or large beans like chickpeas or royal corona beans, these will take significantly longer. Add an extra 15 minutes before checking (45 minutes after hard boil) and test every 5 minutes after.
- Foam coming to the surface during boiling is completely normal. Just skim it off!
- Some say it’s best to add salt later, but I haven’t noticed a difference, so I add everything at the beginning.